在 Hugo 中使用 React
作为一名后端程序员,在体验过使用 React 组件快速搭建 fe 页面之后,基本不太会自己再去写 css 了(本来就记不住🥲)。所以当我想修改 Hugo 页面的时候,第一时间就想问:如何将 React 引入到 Hugo 中,通过 React 来快速实现想要的效果?
可惜的是网络上关于这部分的相关内容比较少,大多也不够详细。这篇文章记录的是我在探索了一段时间之后,觉得比较合适的方法。如果你也想在 Hugo 中使用 React,那么这篇文章可能会对你有用。
总的来说,有三种思路:
- 使用 @Babel/standalone 在浏览器环境运行 React 代码。
- 使用 Hugo 目前内部已有的 js.build 来打包 React 代码,并集成到 Hugo 页面中。
- 使用 webpack 等打包工具,将 react 代码打包成浏览器可以直接引入的独立 js 文件。
| 优点 | 缺点 | NOTE | |
|---|---|---|---|
| 1 | 配置较少,上手快 | 不好调试,写法上也不方便,性能较差 | 直接在浏览器内编译、执行 React 代码 |
| 2 | Hugo 内置支持的编译方式,性能好 | 不够灵活 | Hugo 内置支持的 js 编译功能(底层是 esbuild) |
| 3 | 性能好,开发体验和原生开发 React 一样 | 前期配置繁琐,不过可以通过脚手架快速初始化 | 使用第三方工具编译打包 |
笔者尝试了上述方式后,觉得还是第三种方式最适合将 React 集成到 Hugo。下面的内容也是基于这个思路,记录一下具体的步骤。
准备 React 环境
实际上,本节内容和使用各种脚手架创建一个 React 项目的作用完全一致。只是这里是手动一步步的创建,而脚手架帮你封装了各种细节。如果你倾向于使用脚手架工具,可以跳过本节的内容,当然后续的一些启动、编译的命令参考对应的文档即可,例如 create-react-app。
NodeJS
首先需要有一个 nodejs 环境,推荐使用 NVM 来安装。
wget -qO- https://raw.githubusercontent.com/nvm-sh/nvm/v0.40.1/install.sh | bash通过 NVM 安装 NodeJS。
nvm install node # "node" is an alias for the latest version安装包管理工具 yarn,当然也可以使用 npm,选择你喜欢的就好。
npm install -g yarn根目录下使用 yarn 初始化项目,根据提示进行设置,其实全程默认都行。
yarn init安装必要的依赖。
yarn add react react-dom

yarn add -D @types/react @types/react-dom
yarn add -D @babel/core @babel/preset-env @babel/preset-react @babel/preset-typescript
yarn add -D babel-loader css-loader html-webpack-plugin style-loader
yarn add -D webpack webpack-cli webpack-dev-server
根目录下新建 Babel 的配置文件:
babel.config.js,添加两个预设用于支持 typescript 和 react 的相关语法转译。module.exports = { presets: [ "@babel/preset-typescript", "@babel/preset-react", ], plugins: [], };根目录下新建 webpack 的配置文件:
webpack.config.js。- entry 是你的 React 入口程序(就是那个调用 render 方法的文件)
- output 是 webpack 将入口文件及其依赖全部打包后的输出文件配置
- module 配置了一些 loader 来处理 js 和 css 文件
- 这里我们使用的 style-loader 会将 css 文件嵌入到最终的 js 中,因此最终只需要导入 js 文件即可
- plugin 中配置的插件 HtmlWebpackPlugin,是用来测试的。它会将我们打包好的 js 注入到 html 模板,输出到 output 部分配置的目录
const path = require('path')
const HtmlWebpackPlugin = require('html-webpack-plugin')

module.exports = {
  entry: {
    game: './react/game/index.js',
  },
  output: {
    path: path.join(__dirname, '/dist'),
    filename: '[name].js',
    clean: true,
  },
  devtool: 'source-map',
  module: {
    rules: [
      {
        test: /\.(tsx|ts|js|jsx)$/,
        exclude: /node_modules/,
        use: {
          loader: 'babel-loader',
        },
      },
      {
        test: /\.css$/i,
        use: ['style-loader', 'css-loader'],
      },
    ],
  },
  plugins: [
    new HtmlWebpackPlugin({
      template: './react/index.html',
    }),
  ],
}
在
package.json文件中,加入 command,方便开发测试:"scripts": { "start": "webpack-dev-server --mode development --hot --open", "build": "webpack --mode production && cp dist/*.js ./static/js/" }
编写 React 组件代码
从 React 官网上找到一个小例子。复制过来,稍微修改一下,防止和页面中的其它元素冲突。
import React, { StrictMode } from "react";
import { createRoot } from "react-dom/client";
import "./styles.css";

import App from "./App";

const root = createRoot(document.getElementById("game"));
root.render(
  <StrictMode>
    <App />
  </StrictMode>
);import React, { useState } from 'react';
function Square({ value, onSquareClick }) {
return (
<button className="square" onClick={onSquareClick}>
{value}
</button>
);
}
function Board({ xIsNext, squares, onPlay }) {
function handleClick(i) {
if (calculateWinner(squares) || squares[i]) {
return;
}
const nextSquares = squares.slice();
if (xIsNext) {
nextSquares[i] = 'X';
} else {
nextSquares[i] = 'O';
}
onPlay(nextSquares);
}
const winner = calculateWinner(squares);
let status;
if (winner) {
status = 'Winner: ' + winner;
} else {
status = 'Next player: ' + (xIsNext ? 'X' : 'O');
}
return (
<>
<div className="status">{status}</div>
<div className="board-row">
<Square value={squares[0]} onSquareClick={() => handleClick(0)} />
<Square value={squares[1]} onSquareClick={() => handleClick(1)} />
<Square value={squares[2]} onSquareClick={() => handleClick(2)} />
</div>
<div className="board-row">
<Square value={squares[3]} onSquareClick={() => handleClick(3)} />
<Square value={squares[4]} onSquareClick={() => handleClick(4)} />
<Square value={squares[5]} onSquareClick={() => handleClick(5)} />
</div>
<div className="board-row">
<Square value={squares[6]} onSquareClick={() => handleClick(6)} />
<Square value={squares[7]} onSquareClick={() => handleClick(7)} />
<Square value={squares[8]} onSquareClick={() => handleClick(8)} />
</div>
</>
);
}
export default function Game() {
const [history, setHistory] = useState([Array(9).fill(null)]);
const [currentMove, setCurrentMove] = useState(0);
const xIsNext = currentMove % 2 === 0;
const currentSquares = history[currentMove];
function handlePlay(nextSquares) {
const nextHistory = [...history.slice(0, currentMove + 1), nextSquares];
setHistory(nextHistory);
setCurrentMove(nextHistory.length - 1);
}
function jumpTo(nextMove) {
setCurrentMove(nextMove);
}
const moves = history.map((squares, move) => {
let description;
if (move > 0) {
description = 'Go to move #' + move;
} else {
description = 'Go to game start';
}
return (
<li key={move}>
<button onClick={() => jumpTo(move)}>{description}</button>
</li>
);
});
return (
<div className="game">
<div className="game-board">
<Board xIsNext={xIsNext} squares={currentSquares} onPlay={handlePlay} />
</div>
<div className="game-info">
<ol>{moves}</ol>
</div>
</div>
);
}
function calculateWinner(squares) {
const lines = [
[0, 1, 2],
[3, 4, 5],
[6, 7, 8],
[0, 3, 6],
[1, 4, 7],
[2, 5, 8],
[0, 4, 8],
[2, 4, 6],
];
for (let i = 0; i < lines.length; i++) {
const [a, b, c] = lines[i];
if (squares[a] && squares[a] === squares[b] && squares[a] === squares[c]) {
return squares[a];
}
}
return null;
}.square {
background: #fff;
border: 1px solid #999;
float: left;
font-size: 24px;
font-weight: bold;
line-height: 34px;
height: 34px;
margin-right: -1px;
margin-top: -1px;
padding: 0;
text-align: center;
width: 34px;
}
.board-row:after {
clear: both;
content: '';
display: table;
}
.status {
margin-bottom: 10px;
}
.game {
display: flex;
flex-direction: row;
}
.game-info {
margin-left: 20px;
}<!DOCTYPE html>
<html>
<head><title>My app</title></head>
<body>
<div id="game"></div>
</body>
</html>各种文件的目录位置如下:
react/
	game/
		App.js
		index.js
		styles.css
	index.html
babel.config.js
webpack.config.js
package.json
测试
本地启动开发服务器,webpack 会使用 babel 转译我们编写的 index.js,App.js 等代码,其中包含了 ts 和 tsx 的语法。并且 css 也会被引入其中,最终打包好的 js 注入到 index.html 中,并且启动一个开发服务器方便我们进行调试。
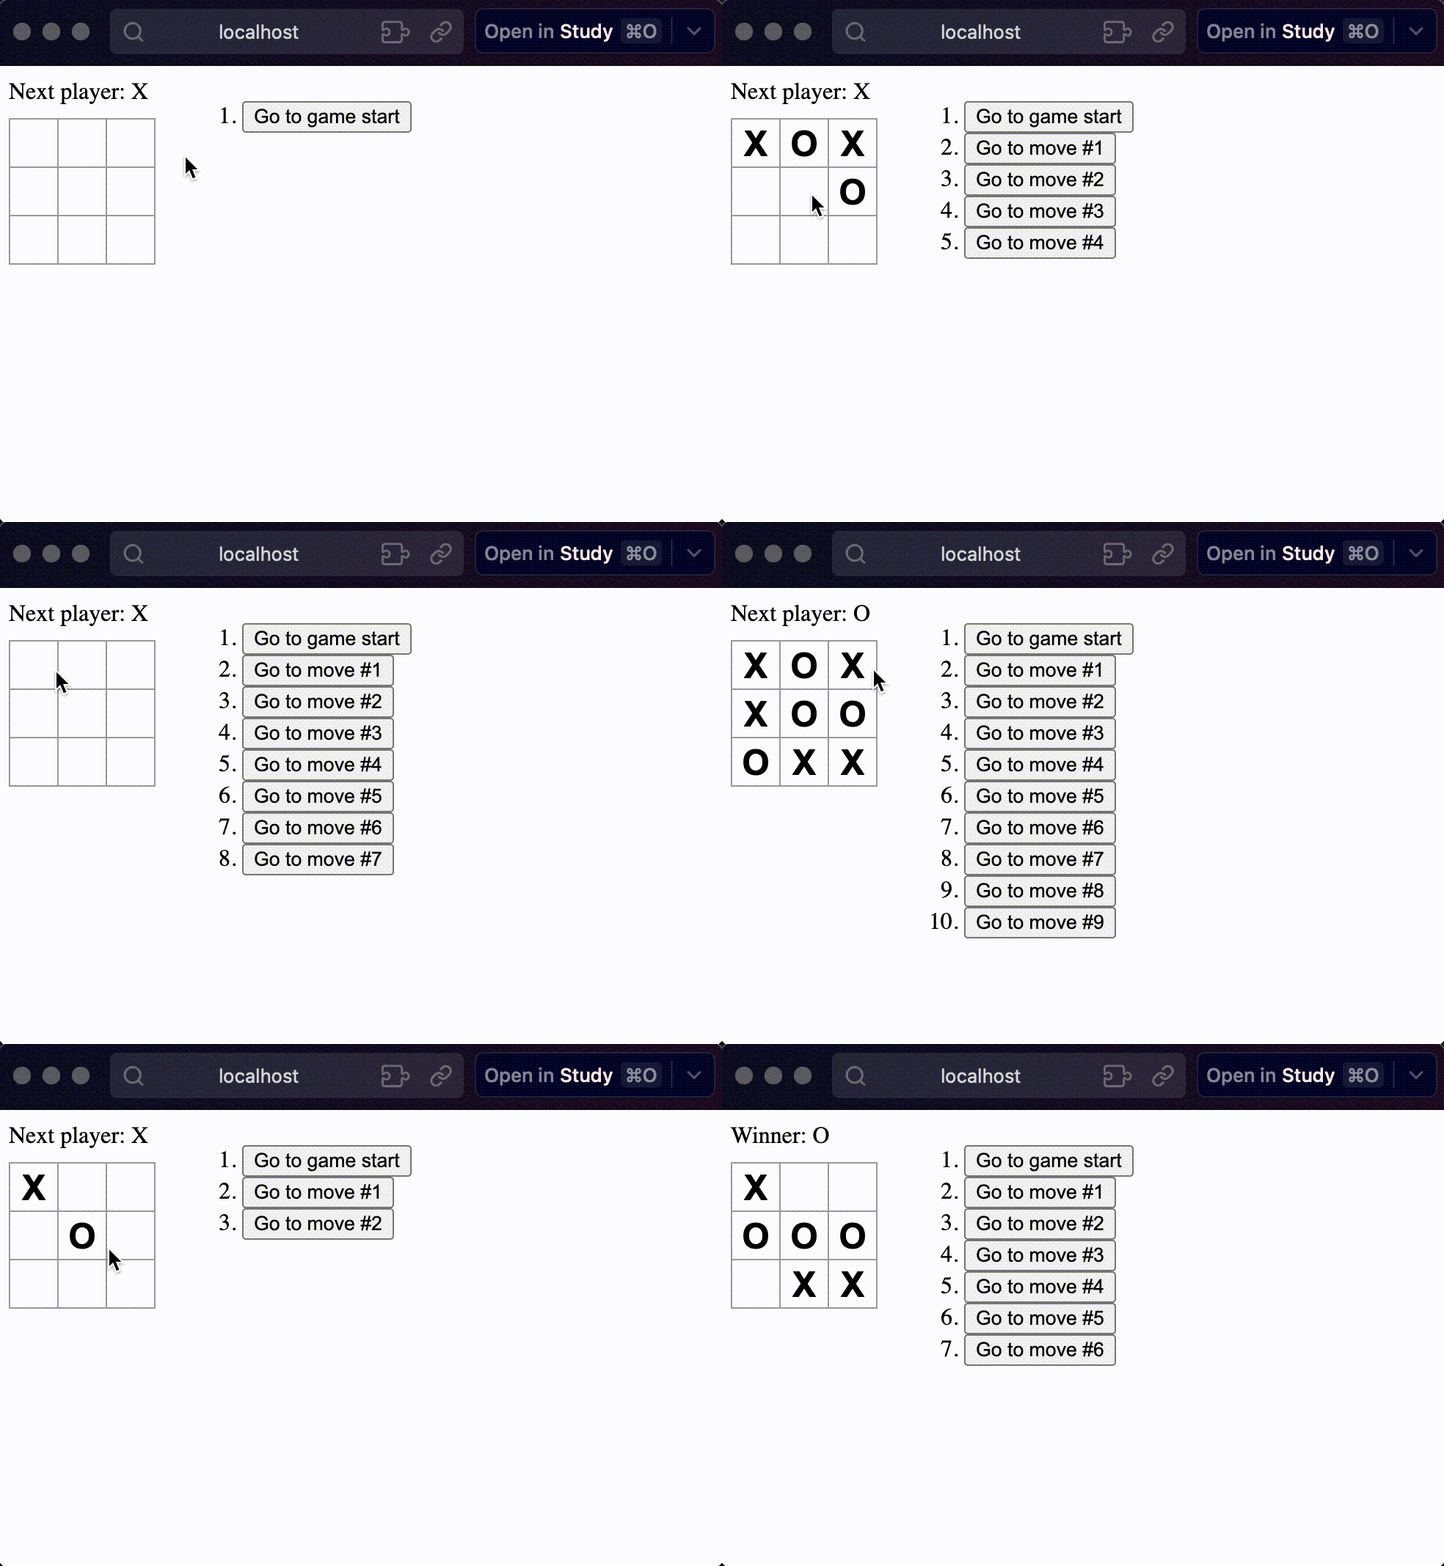
yarn start正常情况下,浏览器会自动打开对应的地址(如果没有打开,可以手动打开终端上输出的地址)。类似一个这样的效果代表组件成功渲染好了:

引入 Hugo
确认组件的效果和我们预期一致后,我们就可以在想要引入的页面和位置上,加上如下代码即可:
<div id="game"></div>
<script src="/js/game.js" defer></script>注意前面我们打包好的 game.js 输出在了 dist 目录下,要在 hugo 中使用,还要将其复制到合适的目录下,这样我们在页面上引入的时候,渲染成 html 后才能找到该文件。
想要在 md 文件中要渲染出 react 组件,需要启用 goldmark render 的 unsafe 特性。
Demo
将上述代码放在这篇文章的源文件中,渲染出来的效果如下,快来试一下吧:
结语
本站的打赏页中,各种打赏的按钮就是用 React + antd 来实现整体布局和鼠标悬浮弹出图片的效果的。有兴趣可以去看看效果。如果让我去写这个 html+css 效果。怕不是要我老命😄。
在当前的代码实现下,我们甚至可以直接用 React 开发一个 App,使用 Router 来接管路由,然后将其挂在你的网站某个子域名/子目录下,充分发挥 React 的能力。